

Arvada Local
How to Remove Popcorn Ceiling Safely at Home
What to test, what to prepare, and when to call a professional instead.
Request an estimate
Tell us what you need

Start with Testing, Not Scraping
A dated popcorn ceiling can make an otherwise well-kept room feel darker and harder to update. But the first step in removing one safely has nothing to do with scrapers or drop cloths. It has to do with what the texture may contain. Older ceilings, particularly those installed before the mid-1980s, may include asbestos-containing material. Disturbing that material without testing first creates a hazard that no amount of prep work can fix after the fact.
Even when asbestos is not a concern, popcorn removal is a genuinely messy overhead project. It can expose soft drywall, torn paper facing, failed tape joints, and water stains that were hidden under texture for years. Understanding what you are likely to find, and having a plan for it, determines whether the project finishes cleanly or turns into a longer repair job.
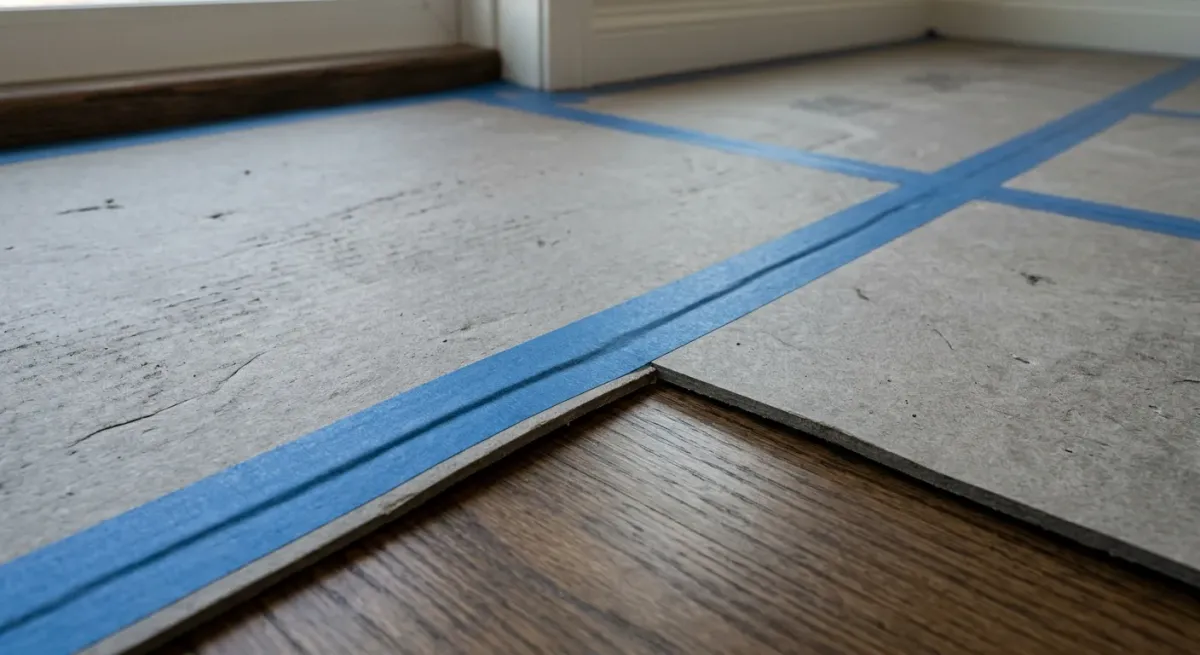
Test Before Any Surface Is Disturbed
This is the step most homeowners skip, and the one that matters most.

Removal vs. Cover-Up: Decide Before You Start
Preparation
Prepare the Room for a Cleaner Job
Good containment is what separates a manageable project from days of cleanup.
Plastic sheeting and painter's tape
Cover furniture and seal door openings, HVAC registers, and return vents before work begins.
Floor protection
Drop cloths topped with plastic sheeting, the double layer makes cleanup at the end far easier.
Proper safety gear
Safety glasses, chemical-resistant gloves, a quality respirator, and disposable coveralls.
The right tools
A pump sprayer with clean water and a wide drywall scraper, not a putty knife.
Repair materials on hand
Joint compound, a taping knife, sanding tools, primer, and ceiling paint before you begin.
Technique
Use Moisture and Patience, Not Force
Repair the Ceiling Before Primer or Paint
Prime First, Then Choose the Right Paint
Seal repairs with drywall primer
Prime before paint, always. Compound patches absorb paint unevenly without it, and the repairs will show through.
Flat paint for most rooms
Flat ceiling paint minimizes surface variation and is forgiving of the small imperfections that remain after even careful repair work.
Moisture-resistant finish for wet areas
Bathrooms, kitchens, and laundry rooms need paint rated for humidity, standard ceiling paint will fail faster in those spaces.
Inspect under raking light before the second coat
A strong light held at a low angle across the ceiling will show any remaining texture or repair edges before you commit to a final coat.
When to Call
Know When a Professional Makes More Sense
Related Guides
How to Prepare for a Renovation
What to do before a contractor shows up, protecting your home, setting expectations, and getting the space ready.
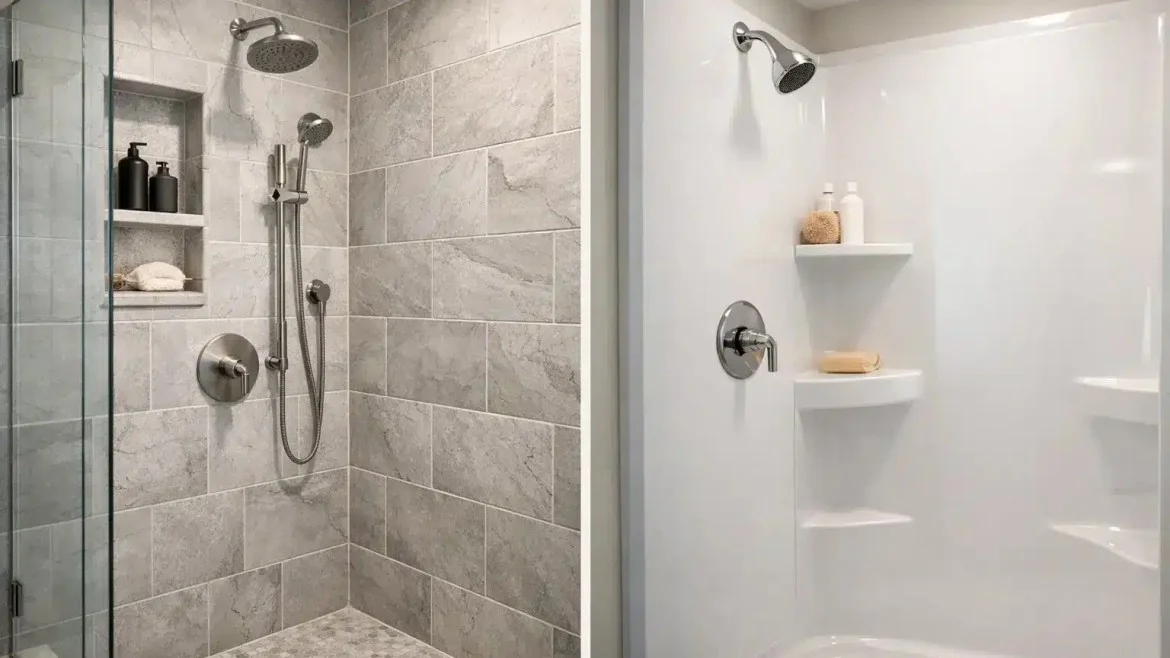
Tile Shower vs. Fiberglass Surround
A side-by-side look at two common shower options, cost, durability, maintenance, and which fits which bathroom.

How to Choose the Right Remodeling Contractor in Colorado
What to ask, what to look for, and what red flags to avoid when hiring a contractor for a Colorado home project.
Have Questions About a Ceiling or a Larger Project?
Veteran-owned. 17 years in Colorado remodeling. Upfront pricing, zero hidden fees.
Next step
Tell us about the job
Your name, your number and what needs doing. A person from Remodel Pro Colorado gets back to you.
Rather talk now?(720) 819-5919